Navigation
Map centring
For field use, the map can be set to automatically follow your location. Own location display is activated from the own location switch. When enabled, the centre button has three modes:
- Free mode (default) – map can move freely, own location shown as dot
- Centring mode – map follows own location automatically; map cannot pan but can rotate
- Navigation mode – map rotates automatically by travel direction and own location is shown in lower third


Using navigation mode
In navigation mode map rotates using compass or GPS heading. When standing still it uses compass, while moving it uses GPS heading. Exit by pressing button third time.
North lines and overlays
From the Preferences menu you can enable:
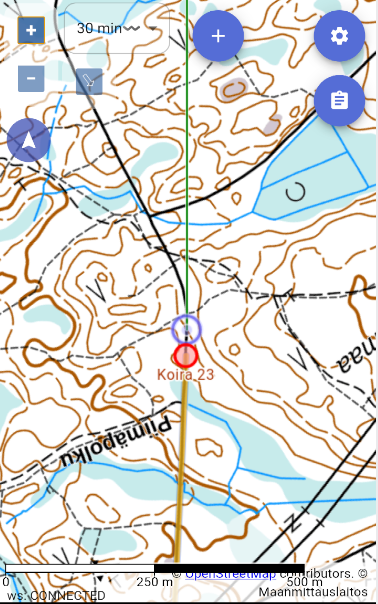
- Compass north lines – help navigate with a hand compass, see Taking a bearing with a hand compass
- Cardinal directions – shows compass directions on the map
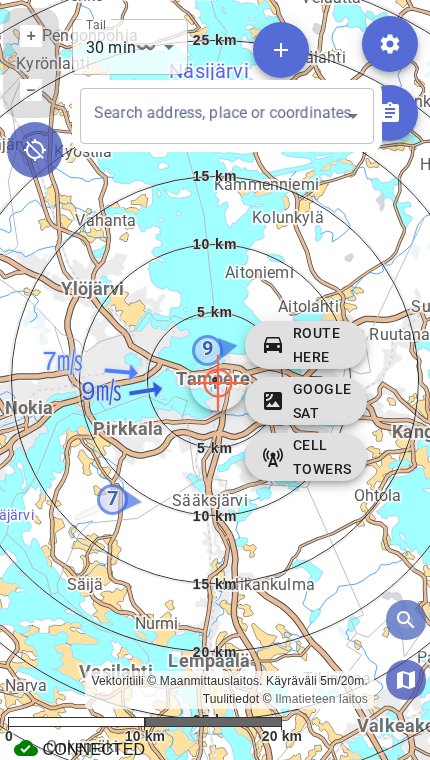
- Scale circles – shows the map scale
- Compass active – shows the device compass heading on the map
- Wind vanes – shows wind data from nearby stations on the map
Taking a bearing with a hand compass
GPS tells you where you are. A compass tells you where you should go.
GPS and the map show your position, but batteries run out, signal weakens and screens break. A hand compass always works, and you can take a bearing straight from the phone's map with it when Compass north lines is enabled in the Preferences menu.
The lines on the map point to magnetic north, the same direction as the compass needle. You therefore do not have to calculate or set the declination (the difference between magnetic and map north) yourself: Karttahimmeli has already accounted for it in the direction of the lines.
Taking a bearing from the phone screen
Prerequisites
A hand compass at hand, and the target (e.g. a search result or a marking) known on the map.
- Enable Compass north lines and zoom the map so that both your own position and the target are on screen.
- Place the long edge of a baseplate compass on the phone screen so that it connects your position and the target. The direction-of-travel arrow must point towards the target.
- Turn the compass housing until its meridian lines are parallel with the north lines on the screen and the N on the housing points to the north end of the lines.
- Read the bearing (degrees) at the compass index line. Leave the compass's declination adjustment at zero (or unadjusted).
- Lift the compass off the phone, hold it level and turn yourself until the north end of the needle sits over the N of the housing (needle "in the shed"). The direction-of-travel arrow now points at the target. Pick a distant landmark in that direction and walk towards it.
Outcome
You know the compass bearing (in degrees) to the target, and you have picked a landmark in the terrain to walk towards.
Keep the compass away from the phone when reading the needle
A phone's magnets, metal case and battery disturb the compass needle. Use the phone only for taking the bearing from the map (steps 1–4). When finding the direction in the terrain (step 5), keep the compass well away from the phone.
A flashlight with a magnetic mount disturbs the compass
The magnet in a flashlight can affect the compass needle from as far as half a metre away from the light. Keep a magnet-mounted flashlight away from the compass when reading the needle and taking a bearing.
The same works on a printed map
Magnetic north lines can also be printed on a paper map, and the map can be printed with magnetic north up. See Printing.
Navigation to Search Result or Map Centre
When the search function is active, you can click the target in the middle. This will bring up a navigation button that allows you to command Google Maps to navigate to the location. However, check where Google is directing you! If there is no road to the location, the route may be impractical.